
A garbage disposal is a big part of the convenience we are used to today. Unlike those of us who live in the county that uses some of our garbage for compost and scrap feeding farm animals, some people have to use their garbage disposal each and every day. There will come a time when it will need to be replaced with a new disposal. This is an easy DIY project that will keep you from paying for a service call or installation fee. Follow the next few steps listed and you can save as well as maintain the disposal you now have.
Step 1: Prepare to remove old disposal
Make sure that you have all the parts and tools need to begin the project. Check your instructions to be sure you have the parts listed on the sheet. Be sure the breaker that supplies the power to your unit is off at the breaker box. Be sure to check the amperage at the circuit to see if the breaker is supplying the correct amperage for your new unit. If not replace your breaker first.
Step 2: Remove the Drain Arm and Tube
Remove the drain arm from the unit. Use your pliers to remove the spring clamp that attaches the drain arm to the unit. Remove the drain tube unit.
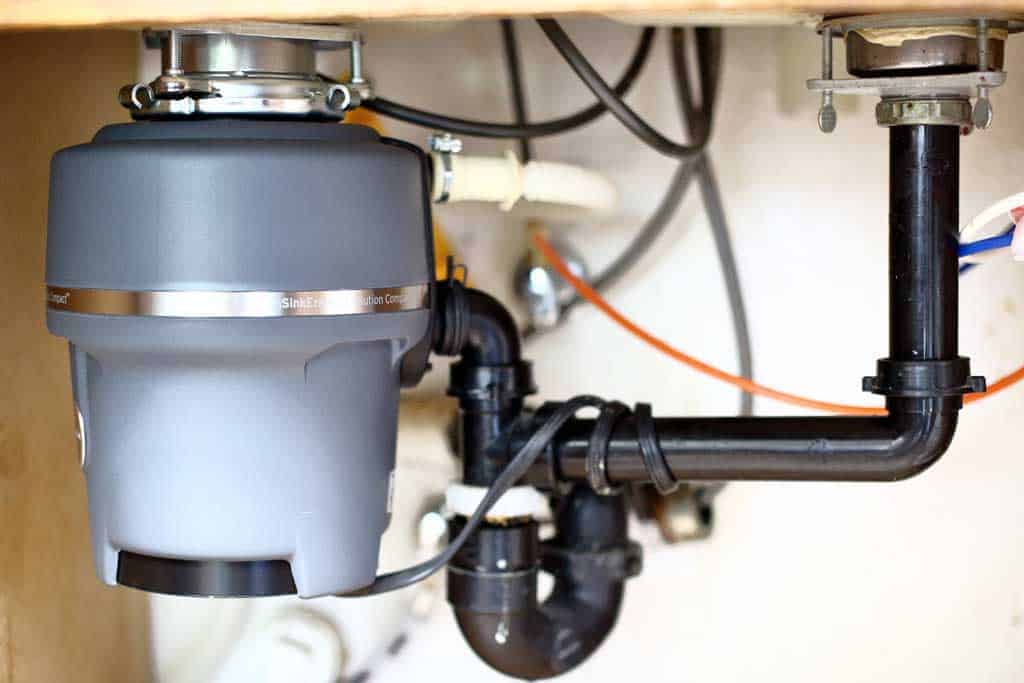
Step 3: Remove the old disposal unit
Twist the unit off of the mounting nut. When you twist the unit it should be loose and ready to remove from the mount. Be sure to check for any remaining debris in the old unit. Take the electrical connections loose by removing the electrical plate on the side of the unit. Remove the mounting assembly from the sink. Unscrew the mounting ring and remove the drain flange. Be sure to clean and remove all of the plumbers putty from the drain opening.
Step 4: Install the new disposal hardware
Place the rubber seal on the drain flange. Your new disposal flange should have a rubber seal included. If not you will need to use plumber’s putty. Place the drain flange into the drain hole. Place the other drain seal on the bottom side of the drain hole. Attach the metal backup ring with the flat side up. Most of your units include metals flanges but if your unit has plastic flange take caution not to overtighten and crack the plastic flanges.
Step 5: Attach the bottom mounting ring
Attach the mounting ring with the screws provided. Take a hammer and screwdriver and remove the plug from the disposal. Turn the unit upside down and allow anything that may have fallen inside to come out. Push the unit onto the mounting ring and twist the unit to help secure the new unit to the mounting ring. Tighten the mounting screws to secure the new disposal unit.
Step 6: Prepare the unit for service
After making sure the unit is mounted securely you will need to reattach the drain arm and drain tubes. Reconnect the electrical wires and replace the electrical cover. Run water through the unit to check for any leaks. Power the unit up to check the operation of the unit.
Tools and Materials List
Tools:
- Pliers
- Screwdriver
- Hammer
Materials:
- New garbage disposal unit
- Drain flange
- Rubber seals
- Metal backup ring
- Mounting ring and screws
- Plumber's putty (if the new disposal flange doesn't include a rubber seal)